What to Expect During the Hardwood Floor Sanding and Refinishing Process
Hardwood floors are among the most valued features in residential and commercial interiors, admired for their durability, natural beauty, and long-term performance. However, even the best-maintained floors eventually show signs of wear—scratches accumulate, the finish dulls, and the surface loses the rich, polished look that once defined the space. This is where sanding and refinishing become essential, not only to restore the floor’s appearance but also to extend its structural lifespan. Understanding the process helps property owners anticipate the timeline, prepare their environment, and make informed decisions about finishes, colors, and maintenance expectations.
As demand for long-lasting flooring solutions continues to rise, the sanding and refinishing process remains a cornerstone service in the hardwood flooring industry. It offers an opportunity to renew existing floors without the cost and waste associated with replacement. Whether you are refreshing a heavily trafficked home, renovating an office, or modernizing an older property, knowing what to expect during each phase of the process can make the experience more efficient and stress-free. This blog provides a detailed, expert-level breakdown of every stage—preparation, sanding, repairs, staining, sealing, and cleanup—so you can approach the project with confidence and clarity.
1. Preparing the Space for Sanding and Refinishing
1.1 Assessing the Floor’s Current Condition
Before any equipment enters the home, a detailed assessment is performed to determine the floor’s age, species, thickness, and finish type. Floors with deep scratches, pet stains, cupping, or unevenness may require more extensive sanding. This evaluation ensures the correct approach and machinery are used. For example, engineered wood floors can only be sanded a limited number of times, depending on the thickness of the wear layer.
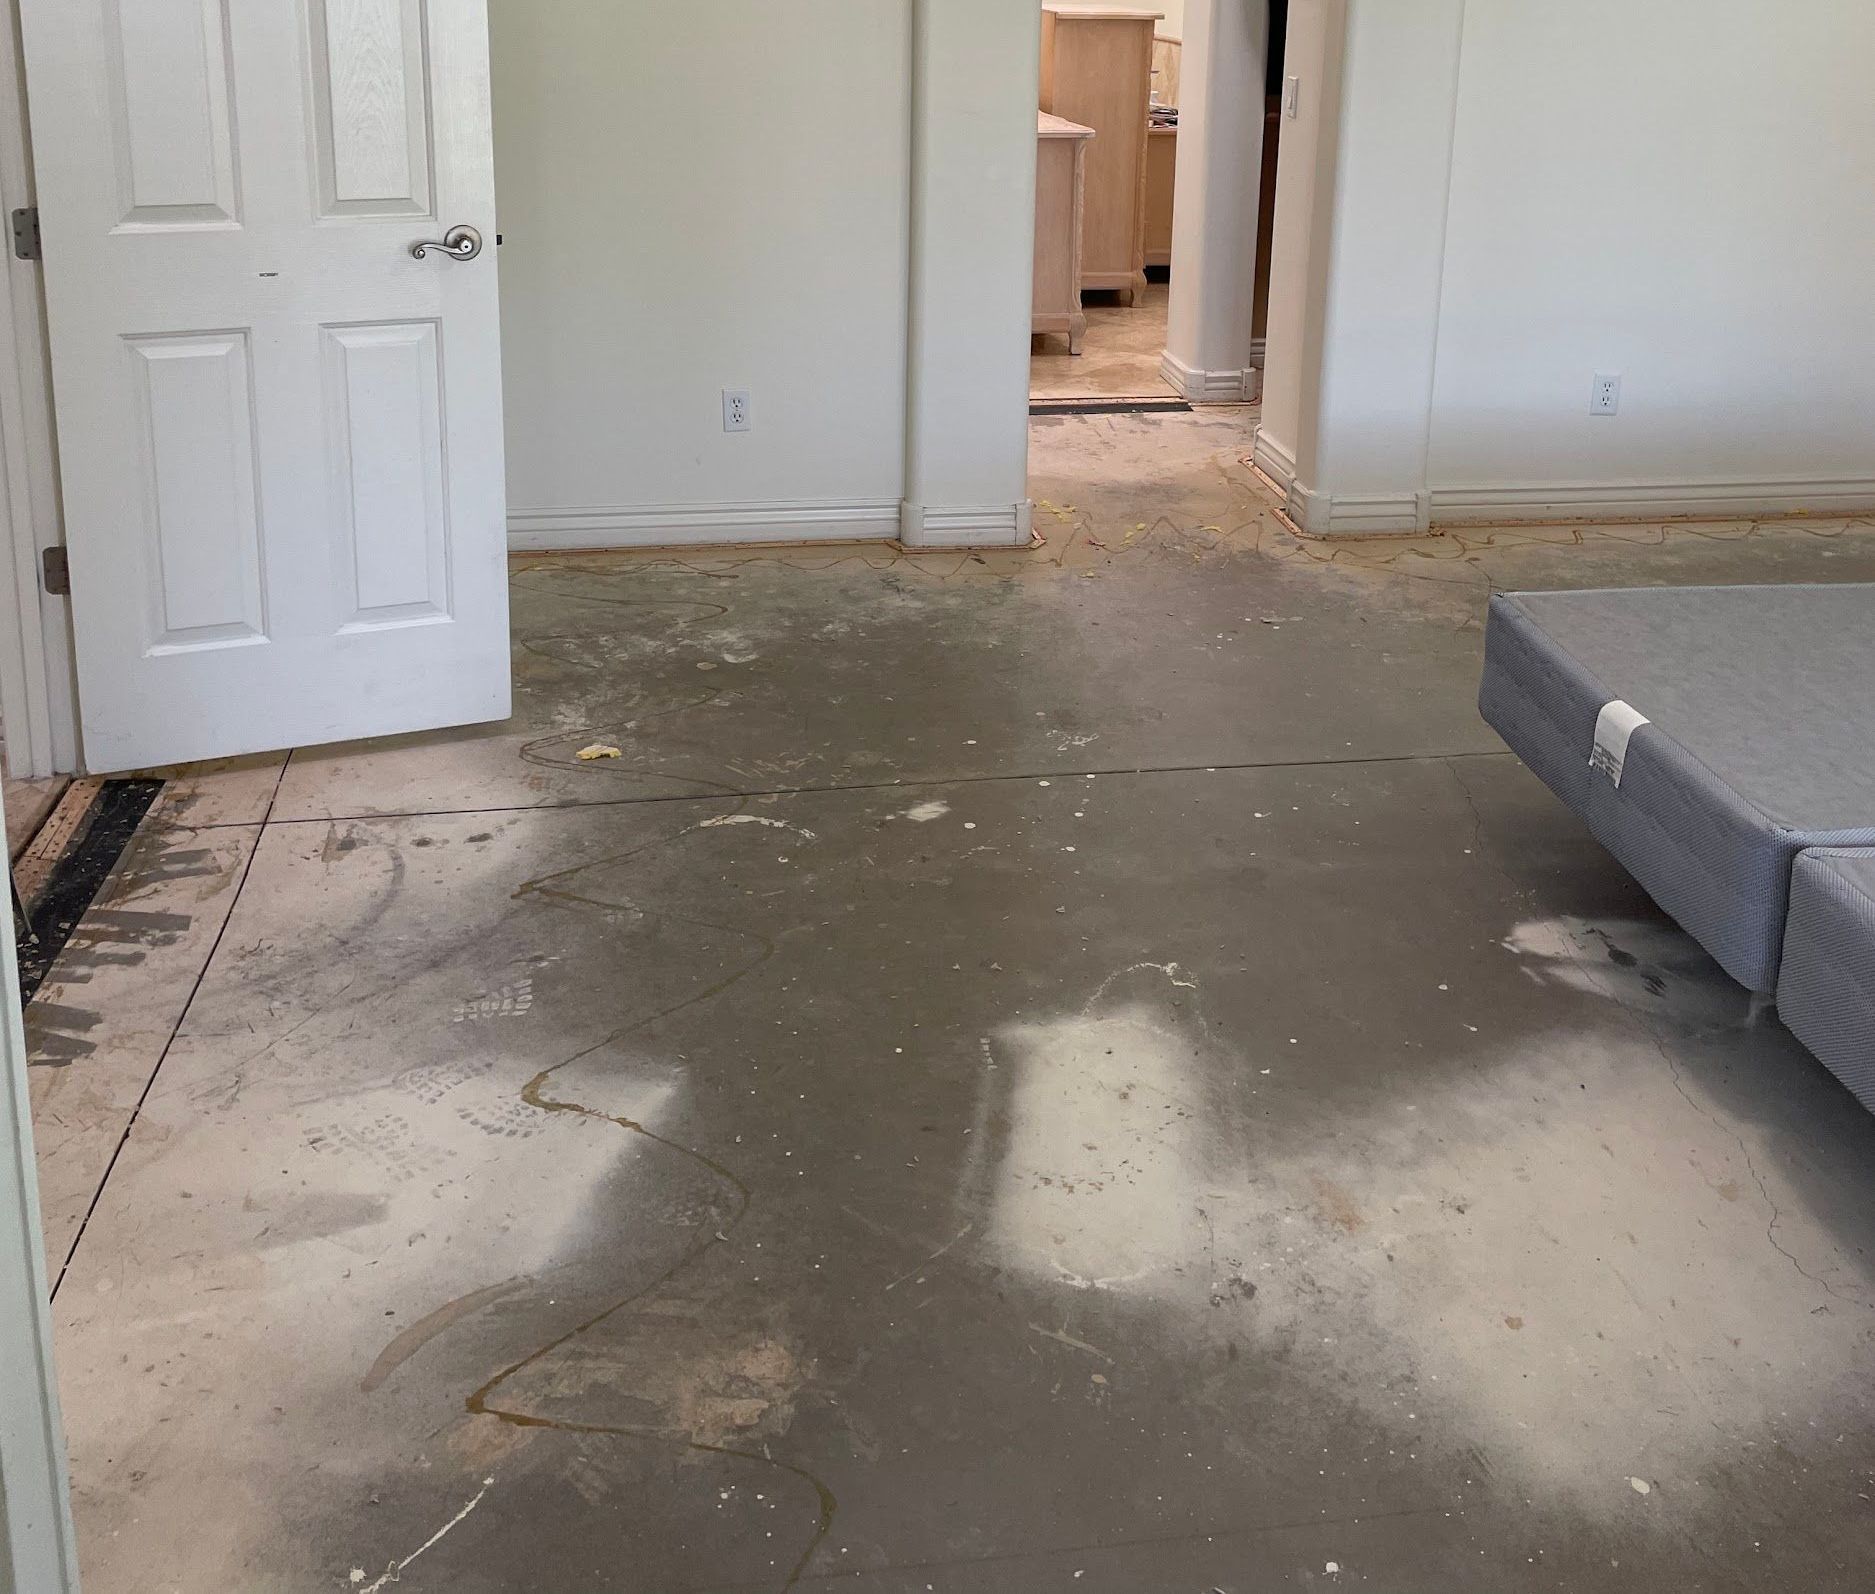
1.2 Removing Furniture and Clearing the Work Area
Proper preparation is essential for an uninterrupted refinishing process. All furniture, rugs, vents covers, and breakable items must be removed. Contractors typically recommend clearing adjacent rooms as well to prevent dust migration. Homeowners should also consider removing curtains, wall hangings, and electronics. Thorough preparation shortens the overall timeline and allows professionals to work efficiently.
1.3 Protecting Surrounding Areas
Even with modern dust containment systems, some level of dust is inevitable. Professionals often seal doorways with protective plastic, cover built-in cabinets, and secure HVAC registers to prevent dust from circulating. Floors in adjoining rooms may be covered with protective paper to avoid accidental scuffs or debris. This step helps maintain a cleaner environment and ensures a professional-quality finish.
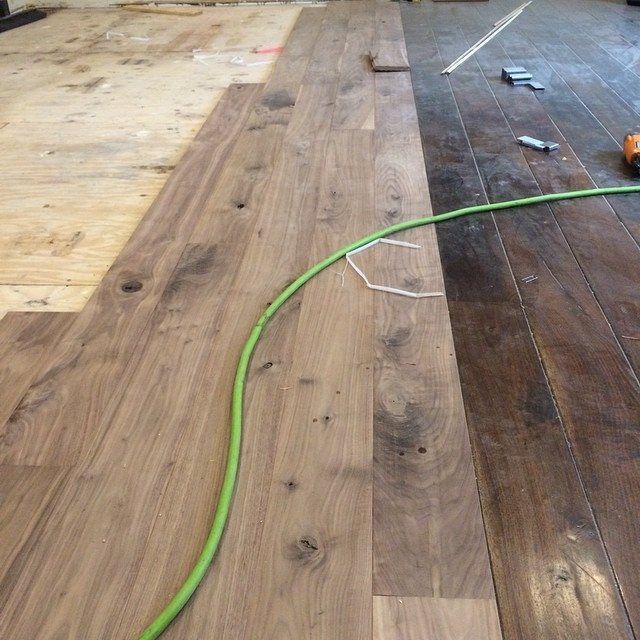
2. The Sanding Process: What Really Happens
2.1 Initial coarse sanding for removal of old finish
The first pass of sanding uses coarse-grit sandpaper to remove the existing finish completely. This step eliminates surface scratches, dents, paint, or discoloration. Coarse sanding also levels the floor, making it uniform. Large belt sanders are typically used for main areas, while edgers target corners, edges, and tight spaces.
2.2 Mid-level sanding to smooth imperfections
Once the old finish is removed, medium-grit sanding refines the surface. This pass erases deep drum marks, shadows, or uneven patches left from the coarse grit. The goal is to ensure a consistent and smooth appearance before the finer stages of sanding begin.
2.3 Final fine sanding for a flawless base
Fine-grit sanding produces the smooth, even canvas needed for stain and finish adhesion. A buffer or orbital sander is often used for this final stage, eliminating micro-scratches and ensuring the floor feels completely smooth underfoot. This step directly influences how evenly stain will absorb, making it one of the most critical phases of the entire process.
2.4 Dust containment and cleanup between phases
Each sanding step generates dust, and professionals often vacuum between passes. Advanced equipment with built-in vacuums dramatically reduces airborne particles, making the process cleaner and more efficient. Proper dust containment also ensures the finish dries evenly without surface imperfections.
3. Repairs, Patching, and Surface Preparation
3.1 Repairing damaged or loose boards
During sanding, contractors may discover damaged boards that require repair or replacement. Common issues include cracked planks, water-damaged sections, or loose nails causing squeaks. Addressing these problems before refinishing ensures the floor remains structurally sound and visually consistent.
3.2 Filling gaps, cracks, and nail holes
Wood filler or specialized putty is used to address gaps between planks or nail holes. This helps create a smooth, cohesive surface. In older homes, seasonal gapping is common, and while fillers can minimize gaps, they cannot eliminate natural expansion and contraction. Contractors assess which gaps should be filled and which are better left untreated for long-term stability.
3.3 Tack cloth cleaning and pre-stain evaluation
Before staining or sealing begins, the entire floor is cleaned with tack cloths or microfiber systems to remove all remaining dust. Contractors then perform a visual inspection to ensure there are no swirl marks or minor abrasions. At this stage, homeowners can still request small adjustments before the finish is applied.
4. Staining Options, Color Selection, and Application
4.1 Understanding stain choices and their effects
Staining transforms the appearance of hardwood by deepening tone, highlighting grain, or complementing interior decor. Oil-based stains, water-based stains, and hybrid formulas each offer different drying times, color richness, and durability. Professionals help homeowners choose shades that enhance natural lighting, architectural styles, and long-term maintenance goals.
4.2 Testing stain samples before full application
To ensure the right match, small test patches are applied directly to the sanded floor. This step is crucial because wood species absorb stain differently. A color that appears light on one type of wood may look dramatically darker on another. Testing allows homeowners to visualize the final look before committing.
4.3 Application method and drying time
Once the color is selected, the stain is applied using rags, pads, or applicators. The stain must penetrate evenly before excess product is wiped off. Uneven absorption can result in blotches, streaks, or darker patches, which is why experienced application is essential. After staining, the floor requires sufficient drying time—typically 24 to 48 hours depending on stain type and humidity levels.
5. Applying the Protective Finish: Sealants, Coats, and Curing
5.1 Types of protective finishes
The final finish is what shields the floor from wear, moisture, scratches, and daily traffic. Homeowners can choose between water-based polyurethane, oil-based polyurethane, penetrating sealers, or hardwax oils. Each offers distinct benefits:
- Water-based finishes dry quickly and have low odor.
- Oil-based finishes provide rich color and strong durability.
- Hardwax oils offer a natural, matte appearance.
Selecting the right finish depends on lifestyle, aesthetic preference, and the level of maintenance a homeowner is willing to commit to.
5.2 Number of coats and application sequence
Most refinishing projects involve one seal coat followed by two to three additional finish coats. Each coat must dry completely before the next is applied. Between coats, a light buffing is performed to ensure adhesion and remove microscopic imperfections. This layering process is essential for achieving a long-lasting, durable sheen.
5.3 Curing times and when to move furniture back
While finishes typically dry within hours, curing—full hardening—can take days or weeks. Homeowners are often advised to wait 24 hours before lightly walking on the surface, 72 hours before replacing furniture, and up to two weeks before placing area rugs. Proper curing prevents scuffs, dents, and surface clouding.
6. Post-Refinishing Guidelines and Maintenance Expectations
6.1 Immediate aftercare recommendations
Once the refinishing is complete, homeowners receive a detailed set of guidelines to protect the newly treated floors. These include avoiding harsh cleaners, keeping pets off the surface during early curing, and maintaining proper indoor humidity. The first few days are critical for preventing accidental marks.
6.2 Long-term maintenance habits
To extend the life of the newly refinished floor, regular sweeping, vacuuming with hardwood-safe attachments, and periodic cleaning with manufacturer-approved products are recommended. Mats placed at entryways and felt pads under furniture minimize scratching. Professional recoating every few years helps maintain the sheen and adds a fresh protective layer.
6.3 Common misconceptions about refinishing
Some homeowners believe refinishing is a quick cosmetic project. In reality, it is a multi-stage, detail-oriented process that requires expertise. Another misunderstanding is that refinishing can fix deep structural damage; however, major issues often require board replacement. Understanding these factors helps set realistic expectations.
Ensuring Long-Term Beauty Through Proper Refinishing
For property owners seeking a trusted, highly experienced professional to carry out this detailed process, Enmar Hardwood Flooring
stands as a premier choice. Based in Chandler, Arizona, the company brings 50
years of expertise to every
hardwood sanding and refinishing project. Decades of hands-on craftsmanship have allowed the team to refine their techniques, adopt advanced equipment, and deliver results that consistently exceed expectations. From initial consultation to the final protective coat, their approach prioritizes precision, care, and seamless communication. Clients appreciate their deep understanding of wood species, finishing systems, color trends, and long-term maintenance strategies. Whether revitalizing a historic home, modernizing a commercial interior, or restoring floors affected by heavy wear, the company delivers workmanship rooted in knowledge and integrity. With a reputation built over half a century, Enmar Hardwood Flooring
continues to provide reliable, high-quality solutions that uphold the natural beauty and longevity of hardwood floors. Their commitment to excellence makes them a trusted authority for homeowners throughout the region.