
Cupping or Crowning Boards After a Leak? What the Shape Tells You
QUICK ANSWER: Cupped boards have raised edges and a dip in the middle, which usually means moisture reached them from underneath. Crowned boards have a raised middle and lower edges, which usually means the board dried unevenly or was sanded before it finished drying. The shape points to where the water traveled, but it does not tell you whether the floor is safe to sand or must be replaced. That answer comes from moisture readings taken at several depths, taken again over time, once the source of the leak is fixed and the home has settled back to a steady humidity.
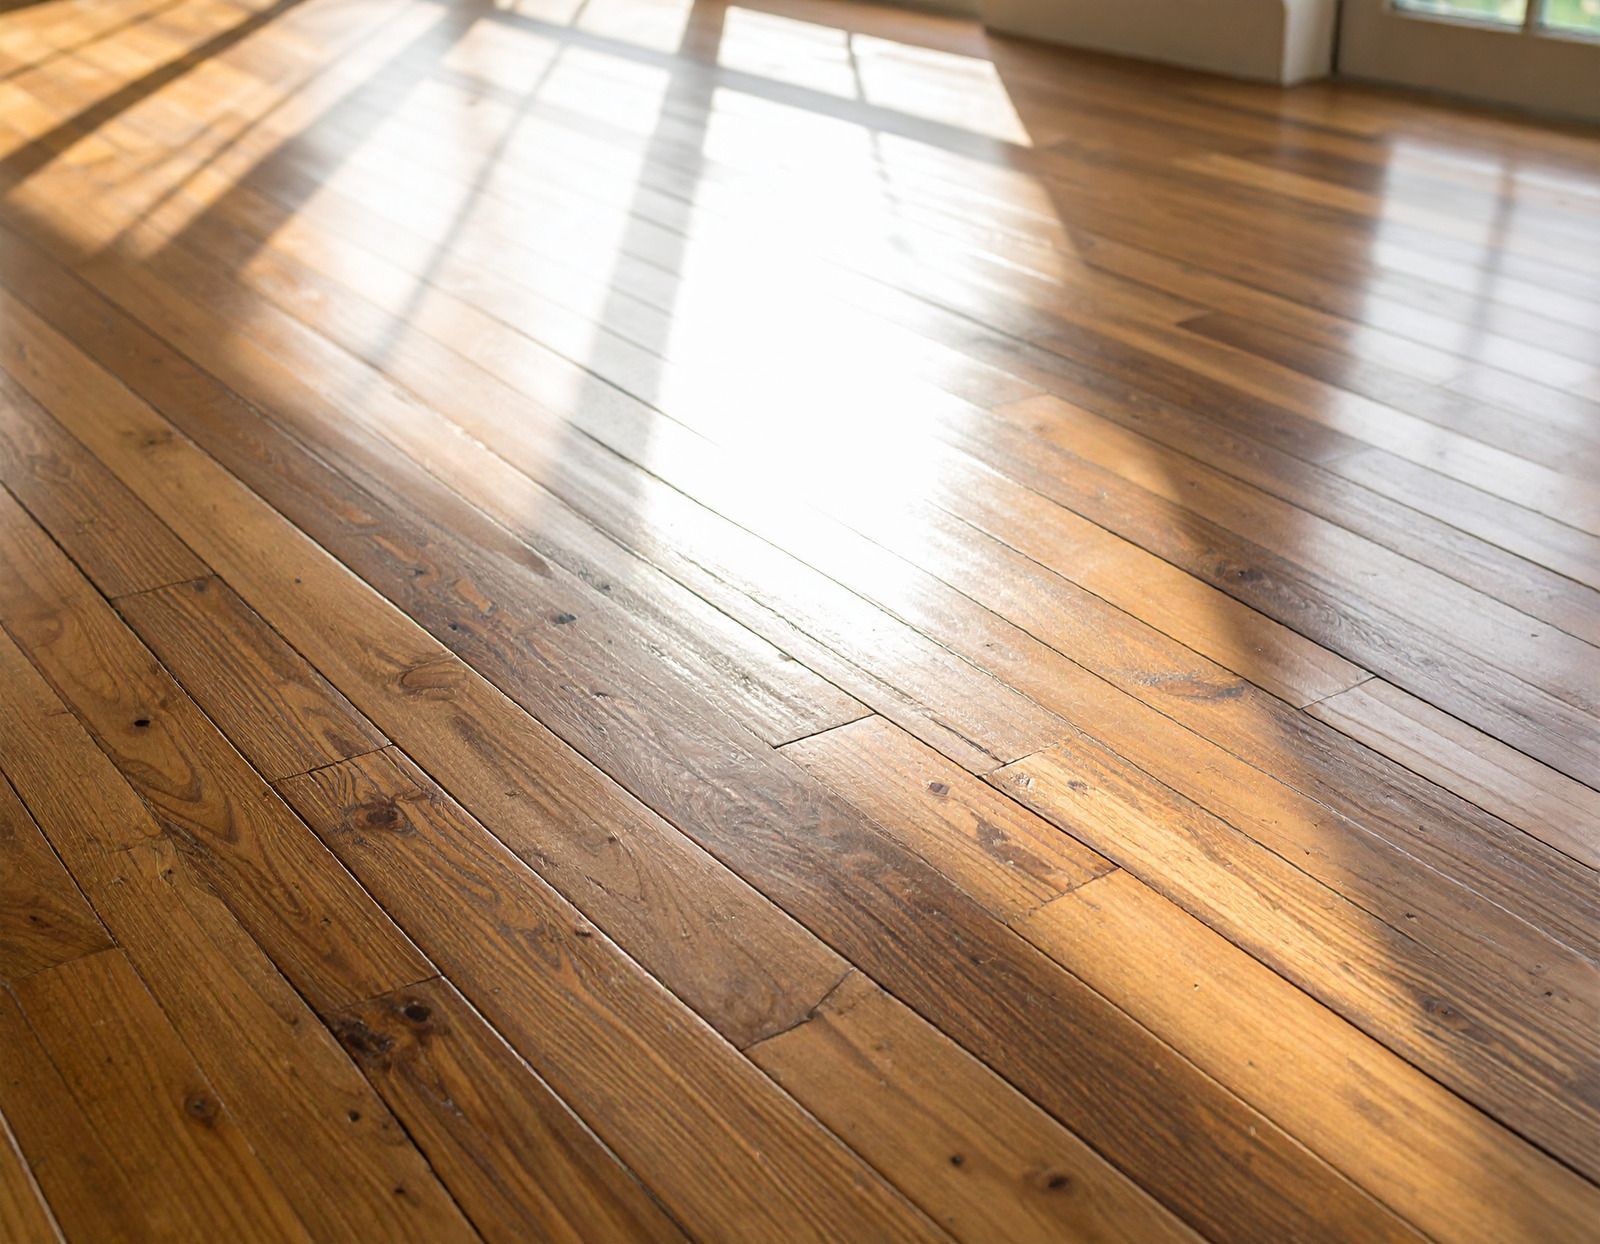
You notice it first as a change in the light. Standing at the end of the hallway, the reflection on your floor no longer slides across the boards in one smooth sheet. It breaks into stripes. Last week a dishwasher line or a water heater let go, the mess was cleaned up, the fans ran for a few days, and you thought the story was over. Now the boards near the kitchen look like tiny troughs, and you are wondering whether you just watched a floor fail in slow motion.
That reaction is common in Chandler, Gilbert, Mesa, and across the Valley, where most homes sit on concrete slabs and a leak has fewer places to go. Water that escapes under a sink or behind an appliance spreads across the subfloor, finds the nearest seams, and works its way into the wood. What happens next depends on which side of the board takes on the moisture, and the shape your boards settle into is the best clue you will get about that.
Here is how to read cupping and crowning, what each one is telling you, and the order in which a
careful repair should happen so a fixable floor does not become a replacement.
What Cupping and Crowning Actually Look Like
Cupping is the shape most people recognize. The edges of each board rise, the center sinks, and the row of boards takes on a washboard texture. You can feel the ridges with a bare foot, and you can see them most clearly when light rakes across the floor from a window or patio door.
Crowning is the opposite. The center of each board stands higher than the edges, so the surface bulges slightly in the middle of every plank. It is often harder to spot than cupping because the rise is gentle, but under a low angle of light it shows up as a series of soft ridges that run the length of the boards.
Both shapes come from the same basic cause. Wood swells as it takes on moisture and shrinks as it gives it up, and it does not do either evenly when one face of the board is wetter than the other. The side holding more moisture grows, the opposite side holds its size, and the board bends toward the drier face. That is the whole mechanism, and everything else is a question of which face got wet and how long it stayed that way.
What the Shape Says About Where the Water Went
A cupped board usually tells you the bottom is wetter than the top. Moisture came from below, through the subfloor or up from a slab, and the underside swelled while the surface stayed close to its original size. A leak that soaked the padding or the subfloor, a supply line failure behind a wall that ran down into the base of the floor, or a slab that passed vapor upward can all leave boards cupped.
A crowned board points the other way. Either the top surface stayed wetter than the underside for a while, such as after a spill that was not cleaned up quickly, or the floor was cupped once and then flattened too soon. When a cupped floor is sanded flat while the boards are still holding extra moisture underneath, the edges get cut down to remove the dish. As the boards finish drying, they relax, the edges drop, and the center now stands proud. The floor that looked perfect on the day the sander left becomes a crowned floor a few weeks later.
That second path matters because it is the most avoidable one. Many crowned floors were not damaged by the leak itself. They were damaged by the timing of the repair.
TIP: Take a photo of the floor with a flashlight held low and to the side, then repeat it once a week. Boards that are slowly flattening show a shrinking shadow line between the edge and the center. Boards that are not changing, or that are getting worse, tell you the moisture is still coming from somewhere.
Why Valley Homes Show This Differently
Arizona air is dry for most of the year, and that works in your favor after a leak. A wet floor in a humid region can stay damp for weeks because the surrounding air cannot take the moisture back. In the Phoenix area the air is usually thirsty, so boards that took on water often begin giving it up as soon as the source is fixed and the room is ventilated.
That same dryness can fool you, though. The surface of a board dries first, and it dries quickly. A floor can feel and look dry to the hand while the lower part of the plank, the tongue and groove joints, and the subfloor below are still holding more moisture than the top. This is exactly the condition that produces a bad sanding decision. The top feels ready, the bottom is not, and the shape is about to change again.
Monsoon season adds another wrinkle. From July through September the indoor humidity in many Valley homes climbs, especially if an evaporative cooler is running, and a floor that was only slightly cupped in dry weather can look much worse during a humid stretch. If your boards looked fine in spring and curled after a summer leak, part of what you are seeing may be the seasonal swing, which is worth separating from the leak itself.
Slab construction plays a role as well. When a pipe leaks inside a slab home, the water often cannot drain away. It sits on the concrete, wicks into the underside of the boards, and keeps feeding moisture upward after the visible puddle is gone. That is one reason cupping is such a common result of leaks in this region.
The Order of Operations That Saves a Floor
A floor that has cupped or crowned after a leak can often be saved, but only if the steps happen in the right order. Skipping ahead is where most repairs go wrong.
First, stop the source. Nothing about the floor will settle until the leak is found and fixed, whether that is an appliance line, a fixture, a wall pipe, or water entering through a door threshold. If a source is still active, any repair is temporary.
Second, dry the space and let the home return to normal conditions. Steady indoor temperature and humidity matter more than speed here. Forcing a floor to dry with aggressive heat can create new problems, such as open seams and surface checking, so the goal is gradual and even drying rather than the fastest possible drying.
Third, measure. This is the step that separates a professional assessment from a guess. Moisture meters read differently depending on the species, the temperature, and how deep the pins reach. Industry guidance for working on a previously wet floor is to take readings at more than one depth, because the surface can read close to normal while the deeper part of the board reads several points higher. Readings should also be repeated over days or weeks, since a number that is still dropping tells a different story than one that has stopped.
Fourth, wait for the floor to tell you it is ready. Time alone is not proof. A floor that has been dry for a month by the calendar can still carry an imbalance, and a floor that seems slow can be perfectly fine if the readings have flattened out. The decision to sand should rest on stable numbers across several visits, not on how the boards look or how long it has been.
Only after those four steps does the question of sanding or replacing become a fair one.
When Boards Flatten on Their Own
Mild cupping often relaxes without any sanding at all. Once the source is fixed and the floor returns to its normal moisture range, the swollen undersides shrink back and the edges settle. Homeowners are sometimes surprised that a floor that looked ruined in week one looks almost normal in week six.
Even when the boards flatten, a light refinish may still be worthwhile to level small remaining ridges and restore a uniform sheen. That work belongs at the end of the process, once readings confirm that the wood has stopped moving. A floor that is sanded at that stage tends to stay flat, because there is no hidden moisture left to change its shape.
If the boards do not return to flat, the next question is how much movement remains and whether the finish and wood fibers are intact. Slight, even cupping can usually be sanded out. Deep cupping, boards that have split along the edges, or a finish that has separated from the wood may call for a more involved repair.
WARNING: Do not rent a drum sander and level a cupped floor yourself as soon as it feels dry. Sanding wet or recently wet boards removes wood that you will want back once the floor equalizes, and it is one of the most common reasons a repairable floor ends up crowned or permanently thin.
When Replacement Boards Are the Better Call
Some boards cannot be coaxed back. Buckling, where a board lifts completely off the subfloor, is a different category from cupping and usually means the fastening or the bond has failed. Boards that have stayed saturated for a long time can also develop dark staining, soft spots, or mold on the underside, and wood in that condition is better replaced than refinished.
When only a section is affected, targeted board replacement can leave the rest of the floor in place. The difficulty is blending new boards into an older floor, since the existing wood has aged, shifted in tone, and taken on years of sun exposure. A skilled installer matches species, grade, and plank width, then finishes the repaired area so the patch disappears into the surrounding floor once the whole room is refinished.
In some cases the cleanest approach is to repair the damaged area and then sand and refinish the entire room, so the edges of the repair are not visible. That is a decision to make after the moisture readings are in, not before.
What a Good Repair Visit Should Include
A thorough visit starts with questions. When did the leak happen, how long was the area wet, what was done to dry it, and has the source been fully repaired? Those answers shape how the readings are interpreted.
Next comes a look at the floor itself. The installer should check the pattern of the cupping, find where it is worst, and test multiple spots in the affected rooms as well as a dry area for comparison. A comparison reading from an unaffected room tells you what normal looks like in your particular house.
From there, the plan should come in stages. Monitor first, then decide on sanding, board replacement, or a full refinish based on what the numbers show. Be cautious of any plan that begins with immediate sanding and offers no moisture readings to support it.
Frequently Asked Questions
What is the difference between cupped and crowned hardwood?
Cupped boards have raised edges and a dip in the center, pointing to moisture underneath. Crowned boards have a raised center and lower edges, often following a cupped floor sanded too soon or a wetter top.
Will cupped hardwood go back to normal on its own?
Often it will, if the source is fixed and the home returns to steady humidity. Mild cupping can relax over several weeks as the boards equalize, though some floors still need a light sanding afterward.
How long should I wait before sanding a floor that got wet?
There is no safe number of days that fits every floor. Moisture readings at several depths, repeated over time and showing stable results, are a far better guide than counting days on the calendar.
Can a moisture meter be wrong on a cupped floor?
It can mislead if it is set for the wrong species or only reads the surface. Readings taken at more than one depth give a truer picture, since the lower part holds more moisture than the top.
Is cupping always caused by a leak?
No. Seasonal humidity swings, a slow appliance leak, a clogged dryer vent, condensation near a patio door, or moisture rising through a slab can all cause cupping or crowning. A leak is simply the most dramatic cause.
Can I use a dehumidifier or fans to flatten my floor?
Steady, moderate conditions help, and gentle air movement speeds surface drying. Aggressive heat or very rapid drying can cause open seams and checking, so aim for even, gradual drying while someone monitors the readings.
The Shape Tells You Where Water Went
A floor that curls after a leak is not necessarily a lost floor. The shape of the boards is a map of where the water traveled, cupping pointing to moisture underneath and crowning pointing to a top that stayed wet or a floor sanded too soon. The moisture readings show whether the wood has finished moving, and the order of the repair decides whether you end up with a flat, even surface or a second round of trouble.
Patience in the first few weeks is what protects the wood you already own, because the worst damage often comes from sanding a floor that only looked dry. Enmar Hardwood Flooring
has spent 50
years reading these floors for homeowners around Chandler, AZ, where slab construction and dry air make the timing tricky. A floor that settles back flat is rarely luck. It is the result of fixing the source, letting the numbers steady, and acting only once the wood has stopped moving.